 Support")
How to Create a Branch in CMST
Branches allow you to structure your portal into separate sub-portals, such as consultancy branches, each with its own administration, branding, and set of rules. Each branch can have its own URL, sign-in page, logo, theme, and timezone, enabling a tailored experience for different divisions or functions.
The purpose of branches is to:
- Prevent Data Manipulation: Ensure that branch admins and staff cannot alter or cheat any student data.
- Promote Transparency: Facilitate clear and transparent data sharing among all branch admins.
- Streamline Processes: Simplify document transfer and provide an easy, trouble-free way to book IELTS seats and apply to colleges.
To create a branch in CMST, follow these steps:
- Log in to Your CMST Account.
- From the left pane,” select “Branches“.
- Click on the “Branches” button at the top of the page.
- Complete the form that appears with the necessary details for the new branch.
- Click “Save” to finalize the creation of the new branch.

- Once you have created a branch, you will need to wait for approval from the super admin before the branch is active.
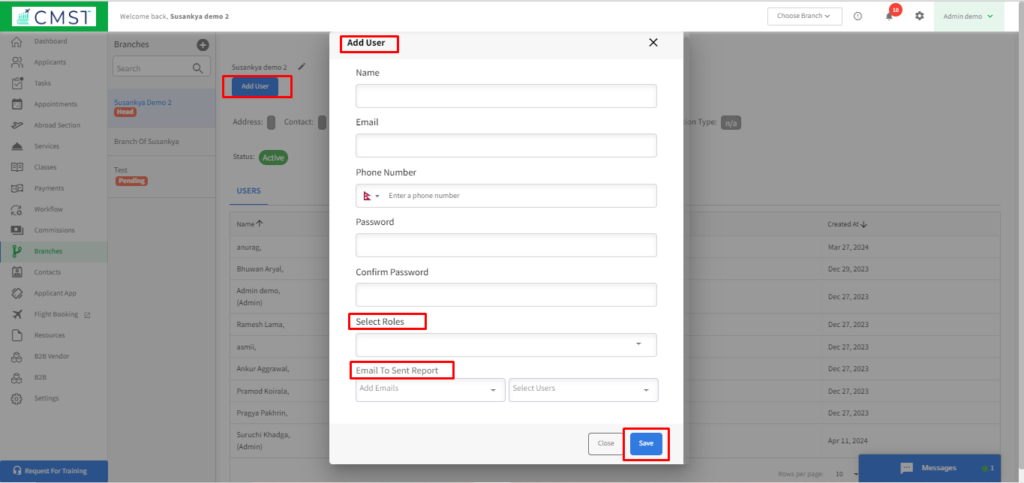
- A new user can be created from Add user (fill in all the required data). The user can be created as an Admin or receptionist.
- The main branch admin can switch to the branch admin account to view all work progress within that branch.